
Night mode turns on by itself in dim light on iPhone 11 and every model since, and three small settings turn those low-light family shots into prints worth framing. You don't switch Night mode on yourself. Your iPhone detects the dark room and does it for you.
The catch is that a photo that looks great on your phone doesn't always survive the jump to paper. We see it all the time at Parabo. Candle-lit dinners and birthday-cake moments glow on the screen, then land a little muddy when printed.
The good news is that the fixes are free, they live in the Camera app, and they take seconds. Let's get into it. 🙂
Why night photos fall apart in print
A phone screen is small and backlit, which hides a lot of grain and softness. A print is bigger, reflective, and far less forgiving, so the noise in those shadows suddenly shows up.
Think of a smoky-warm campfire shot of the kids. On the phone it's cozy. Printed large, the dark edges can look mushy and speckled. The photo didn't change. The bar did.
So the goal isn't a better screen photo. It's a photo that holds together once it's in your hands.
Lower the exposure a touch
Nudging the exposure down a notch protects bright spots like candle flames and string lights from blowing out to white. Apple's exposure control lets you slide brightness from −2 to +2 EV, where EV simply means how bright the shot is. Lower is darker, higher is brighter.
Tap the screen to focus, then drag the little sun slider down a small amount. You're not making the photo dark. You're keeping the highlights honest so a flame stays a flame, not a white blob.
Want it to stick between sessions? You can lock it under Settings, Camera, Preserve Settings, so it won't reset every time you open the app.
Let Night mode run to Max
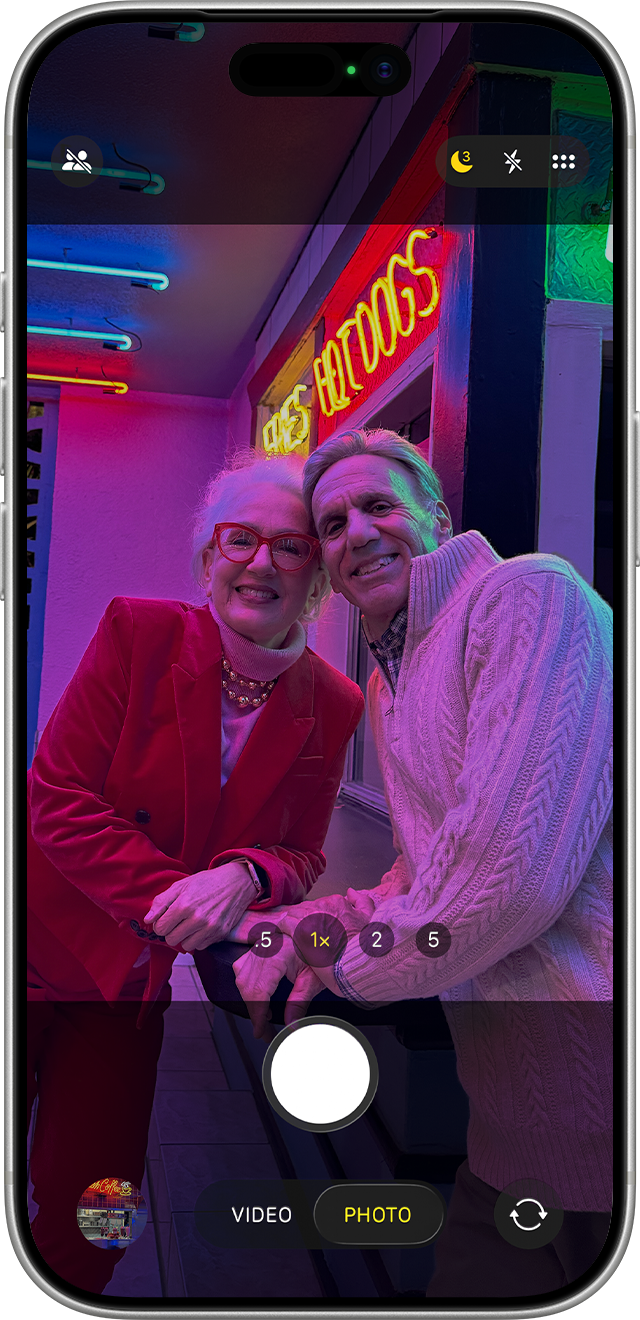
When Night mode is active, the icon at the top of the display turns yellow and a number appears beside it to show how long the shot will take in seconds. That number is your friend. More time means more light and cleaner shadows.
Tap the Night mode icon, then use the slider above the shutter button to choose Max, which extends the capture time. This is the single biggest win for print quality in a dark room.
The trade-off is movement. Hold your iPhone steady until the capture finishes, and brace it on a table, a shelf, or a small tripod if you can. A steady second or two gives you a print without the grainy, smeary look.
Turn on ProRAW on Pro models
Apple ProRAW keeps far more data in the file. That gives you room to rescue exposure, color, and white balance later when you edit. RAW just means a file that holds more information than a regular photo. That extra headroom is exactly what a low-light print needs.
ProRAW works on iPhone 12 Pro and later Pro models running iOS 14.3 or later. Turn it on under Settings, Camera, Formats, switch on Apple ProRAW & Resolution Control, then tap RAW in the Camera app before you shoot.
A couple of limits worth knowing. ProRAW pairs happily with Night mode, so you don't have to choose. It just isn't available in Portrait mode, with Live Photos, or for video.
Then print small first
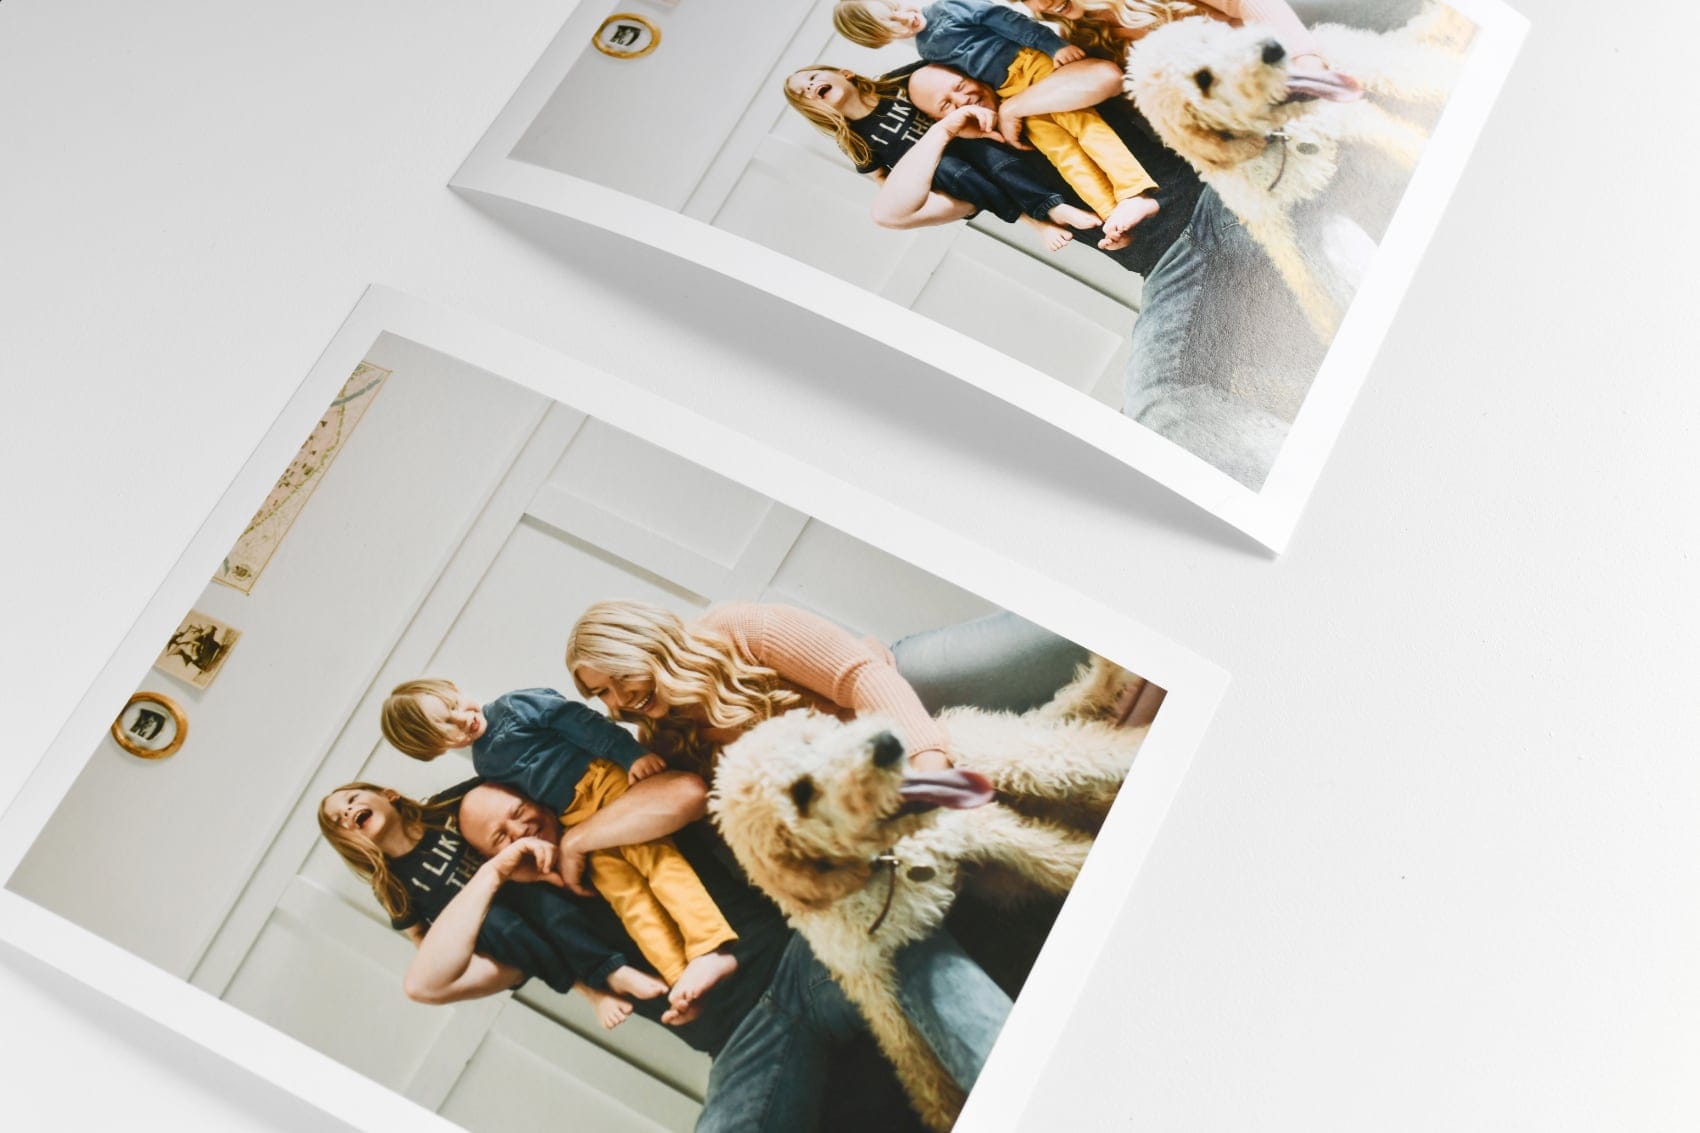
Smaller prints hide low-light noise better than large ones, because the same grain is packed into less space. So when you're unsure how a dark shot will hold up, start small and see how it feels in your hand.
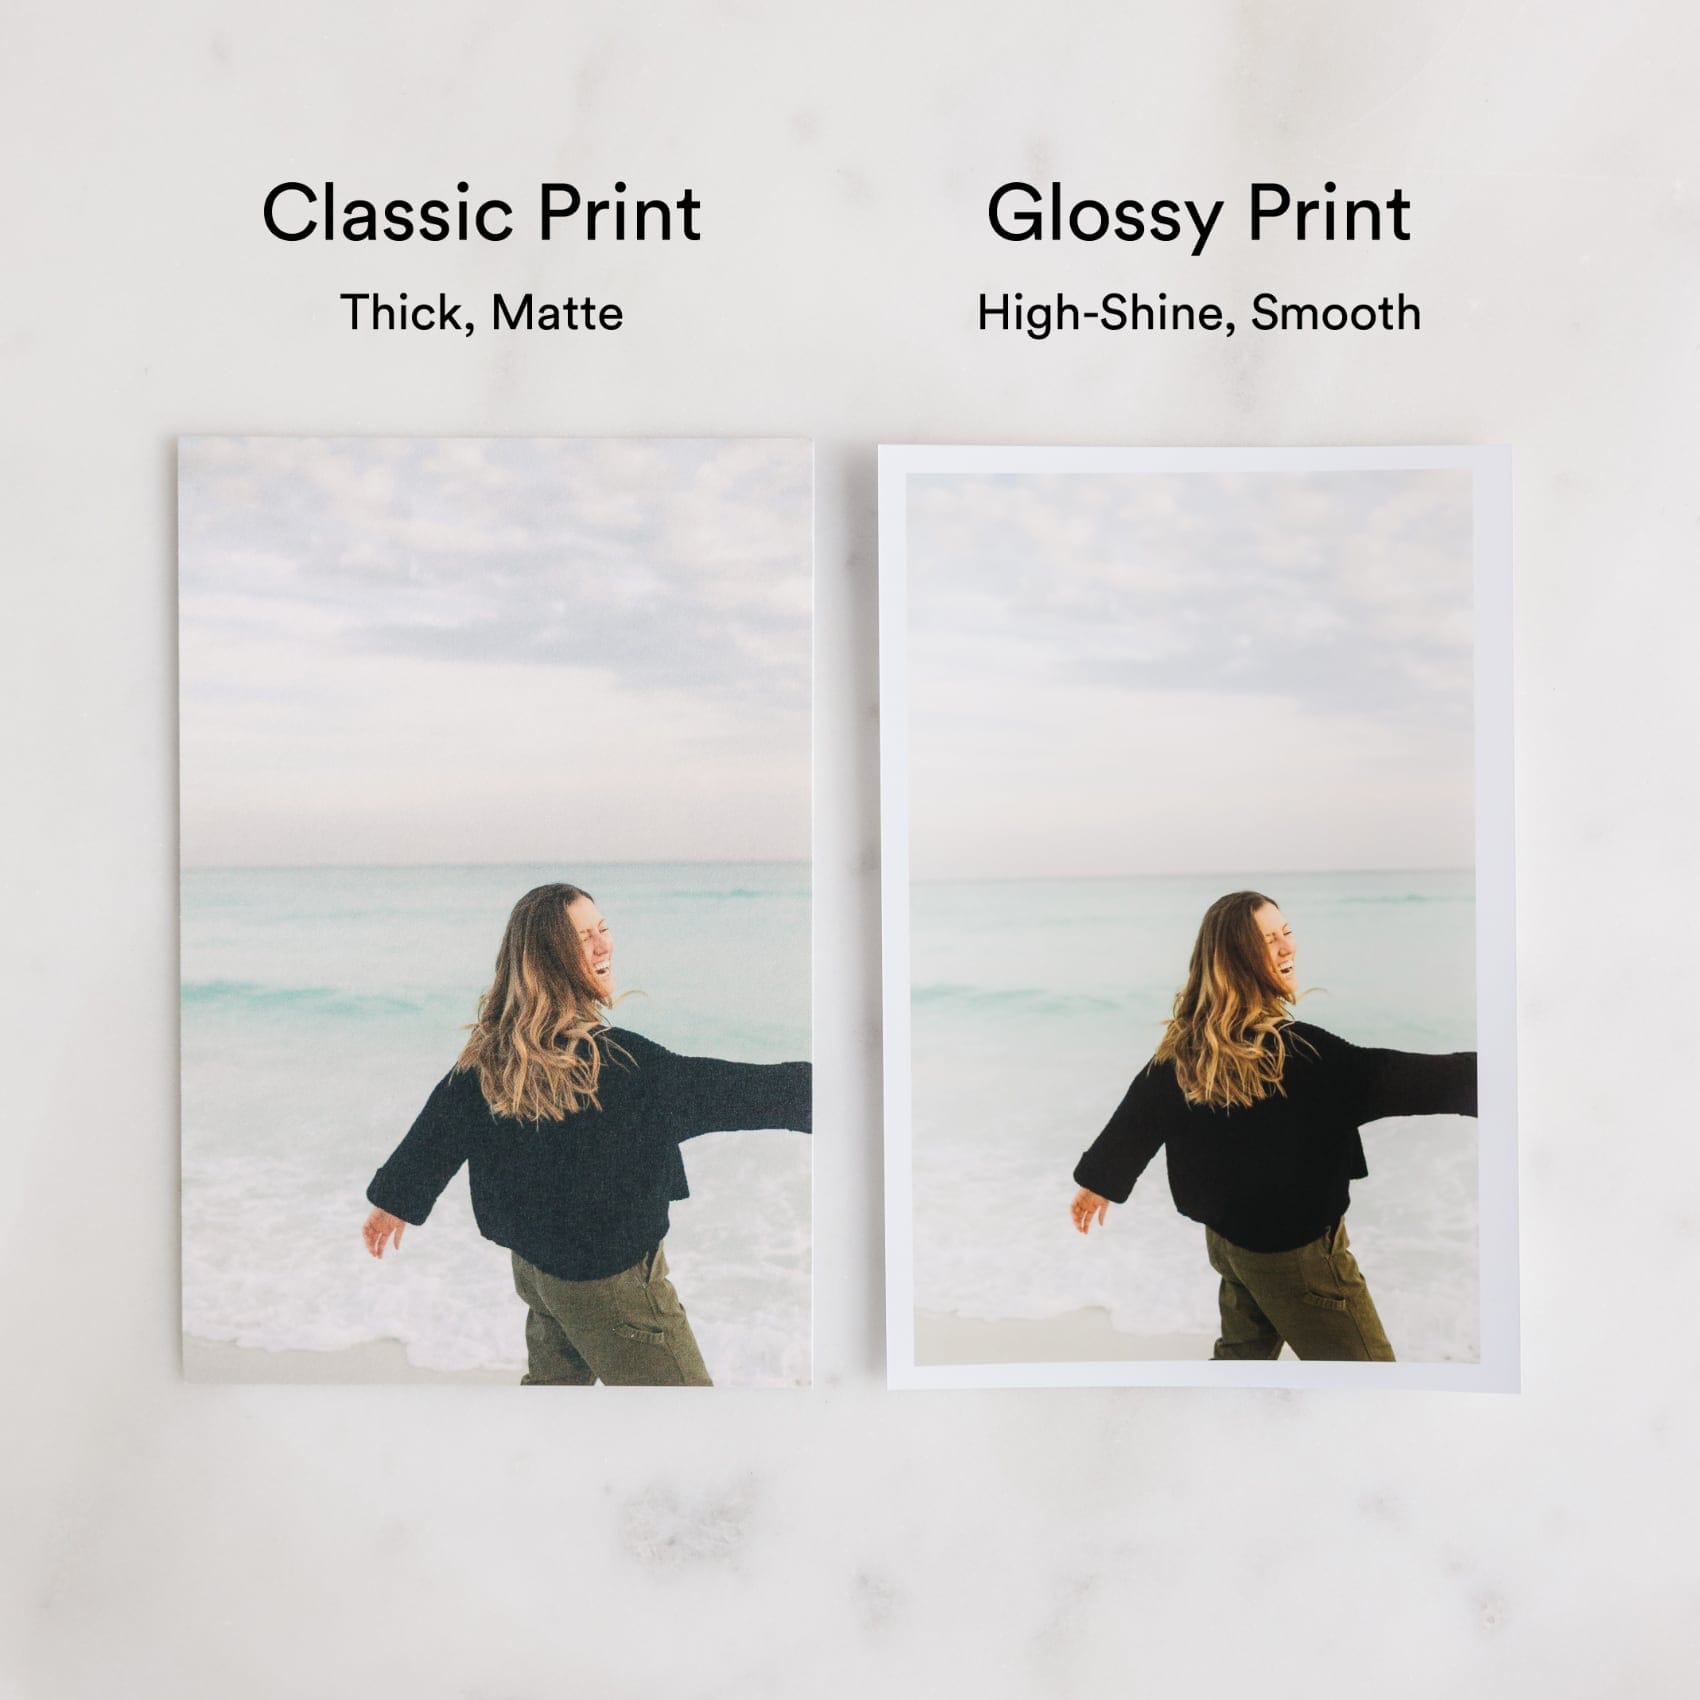
Everyday Square Prints starting at $10 are a forgiving place to begin, and our vibrant new Glossy Prints at $12 make low-light color pop without going huge. Gather a whole season of cozy evenings into a Photo Book from $15, where small prints feel intentional, not cautious.
Got one keeper that earned a wall? Size it up as a Fine Art Print from $30, or browse the full Wall Art collection for the shot that deserves to be seen big.
Feeling inspired?! Print the keepers, and let those dim, glowy little moments live somewhere other than your camera roll.


