


The most common gallery wall mistake is hanging it too high, and the fix is to center your artwork 57 inches from the floor. That number is roughly average human eye level, the same standard used in many galleries and museums. We see the slip all the time, a lovely set of frames floating too high.
A photo wall is one of the coziest things you can make at home. So let us walk through five common missteps and the small fixes that make each one right.
1. You hung the wall too high
Center your whole arrangement at 57 inches on center, measured to the middle of the group rather than a single frame. The trick is to treat a gallery wall as one unit, not a scatter of separate pieces. Imagine that flour-dusted baking morning you printed last spring. You want it at the height where your eyes naturally land, not where your arm happened to reach.
So picture the outer edges of your layout as one big rectangle. Find its center, and let that center rest at 57 inches.
2. The art is the wrong scale over your sofa
Over a sofa, your art should be no more than about two-thirds the width of the furniture below it. That same source suggests leaving roughly 4 to 8 inches between the top of the couch and the bottom of the art, though some designers say 8 to 10. A grid of small frames can look lonely above a wide couch. When the wall is large and open, one oversized piece often carries it better.
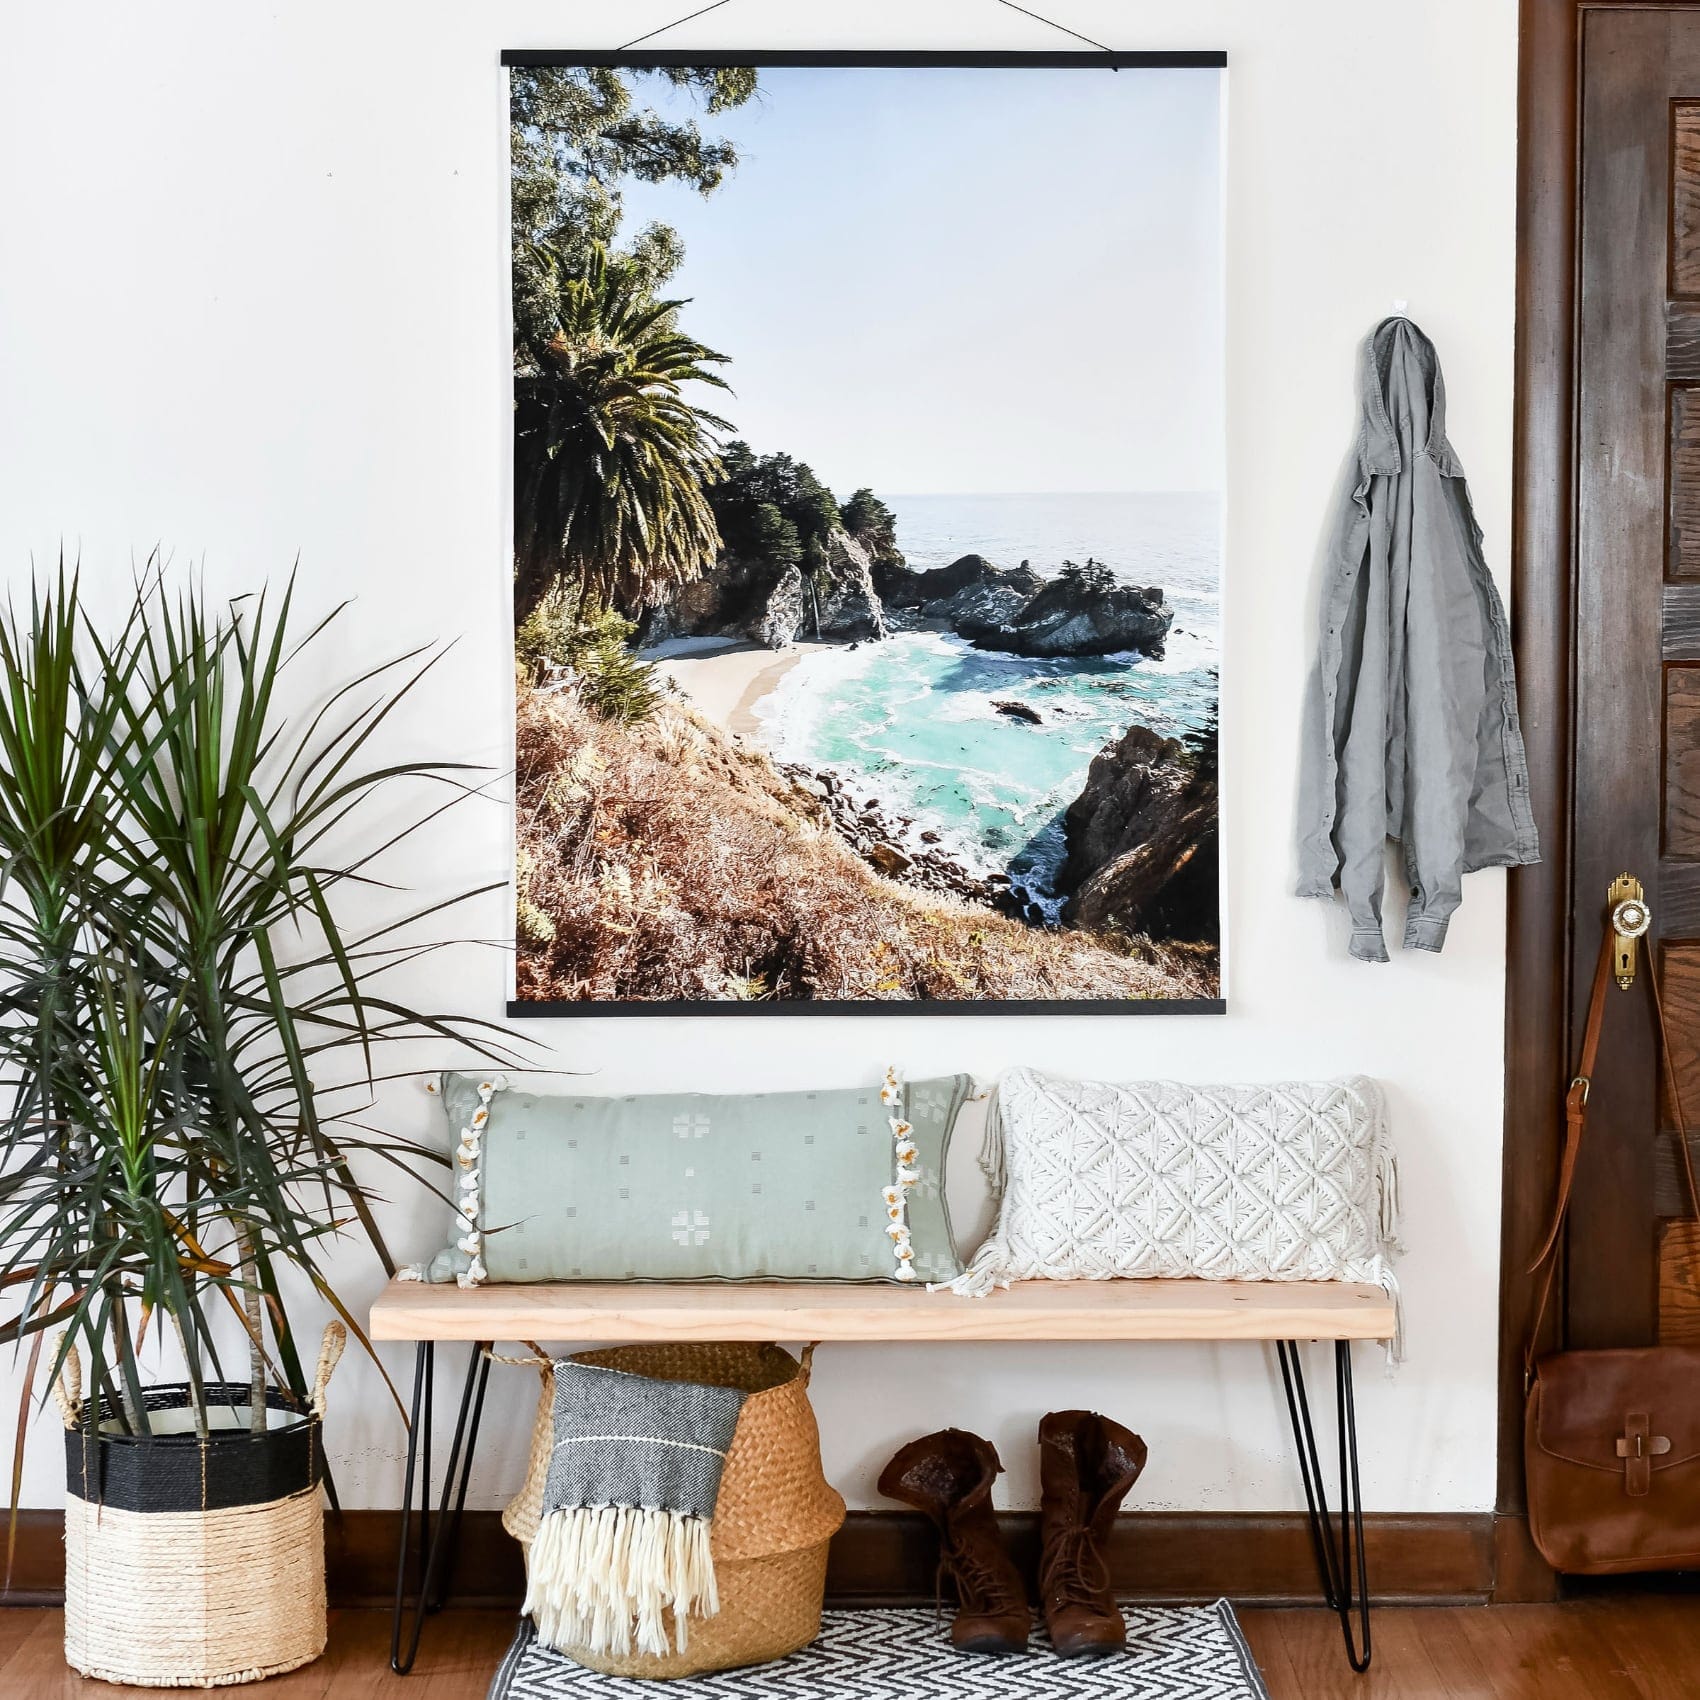
That is where a big Engineer Print shines as a single anchor. Think of a blurry-but-perfect shot of the dog mid-zoomie, blown up so it owns the room.
3. You guessed the gaps
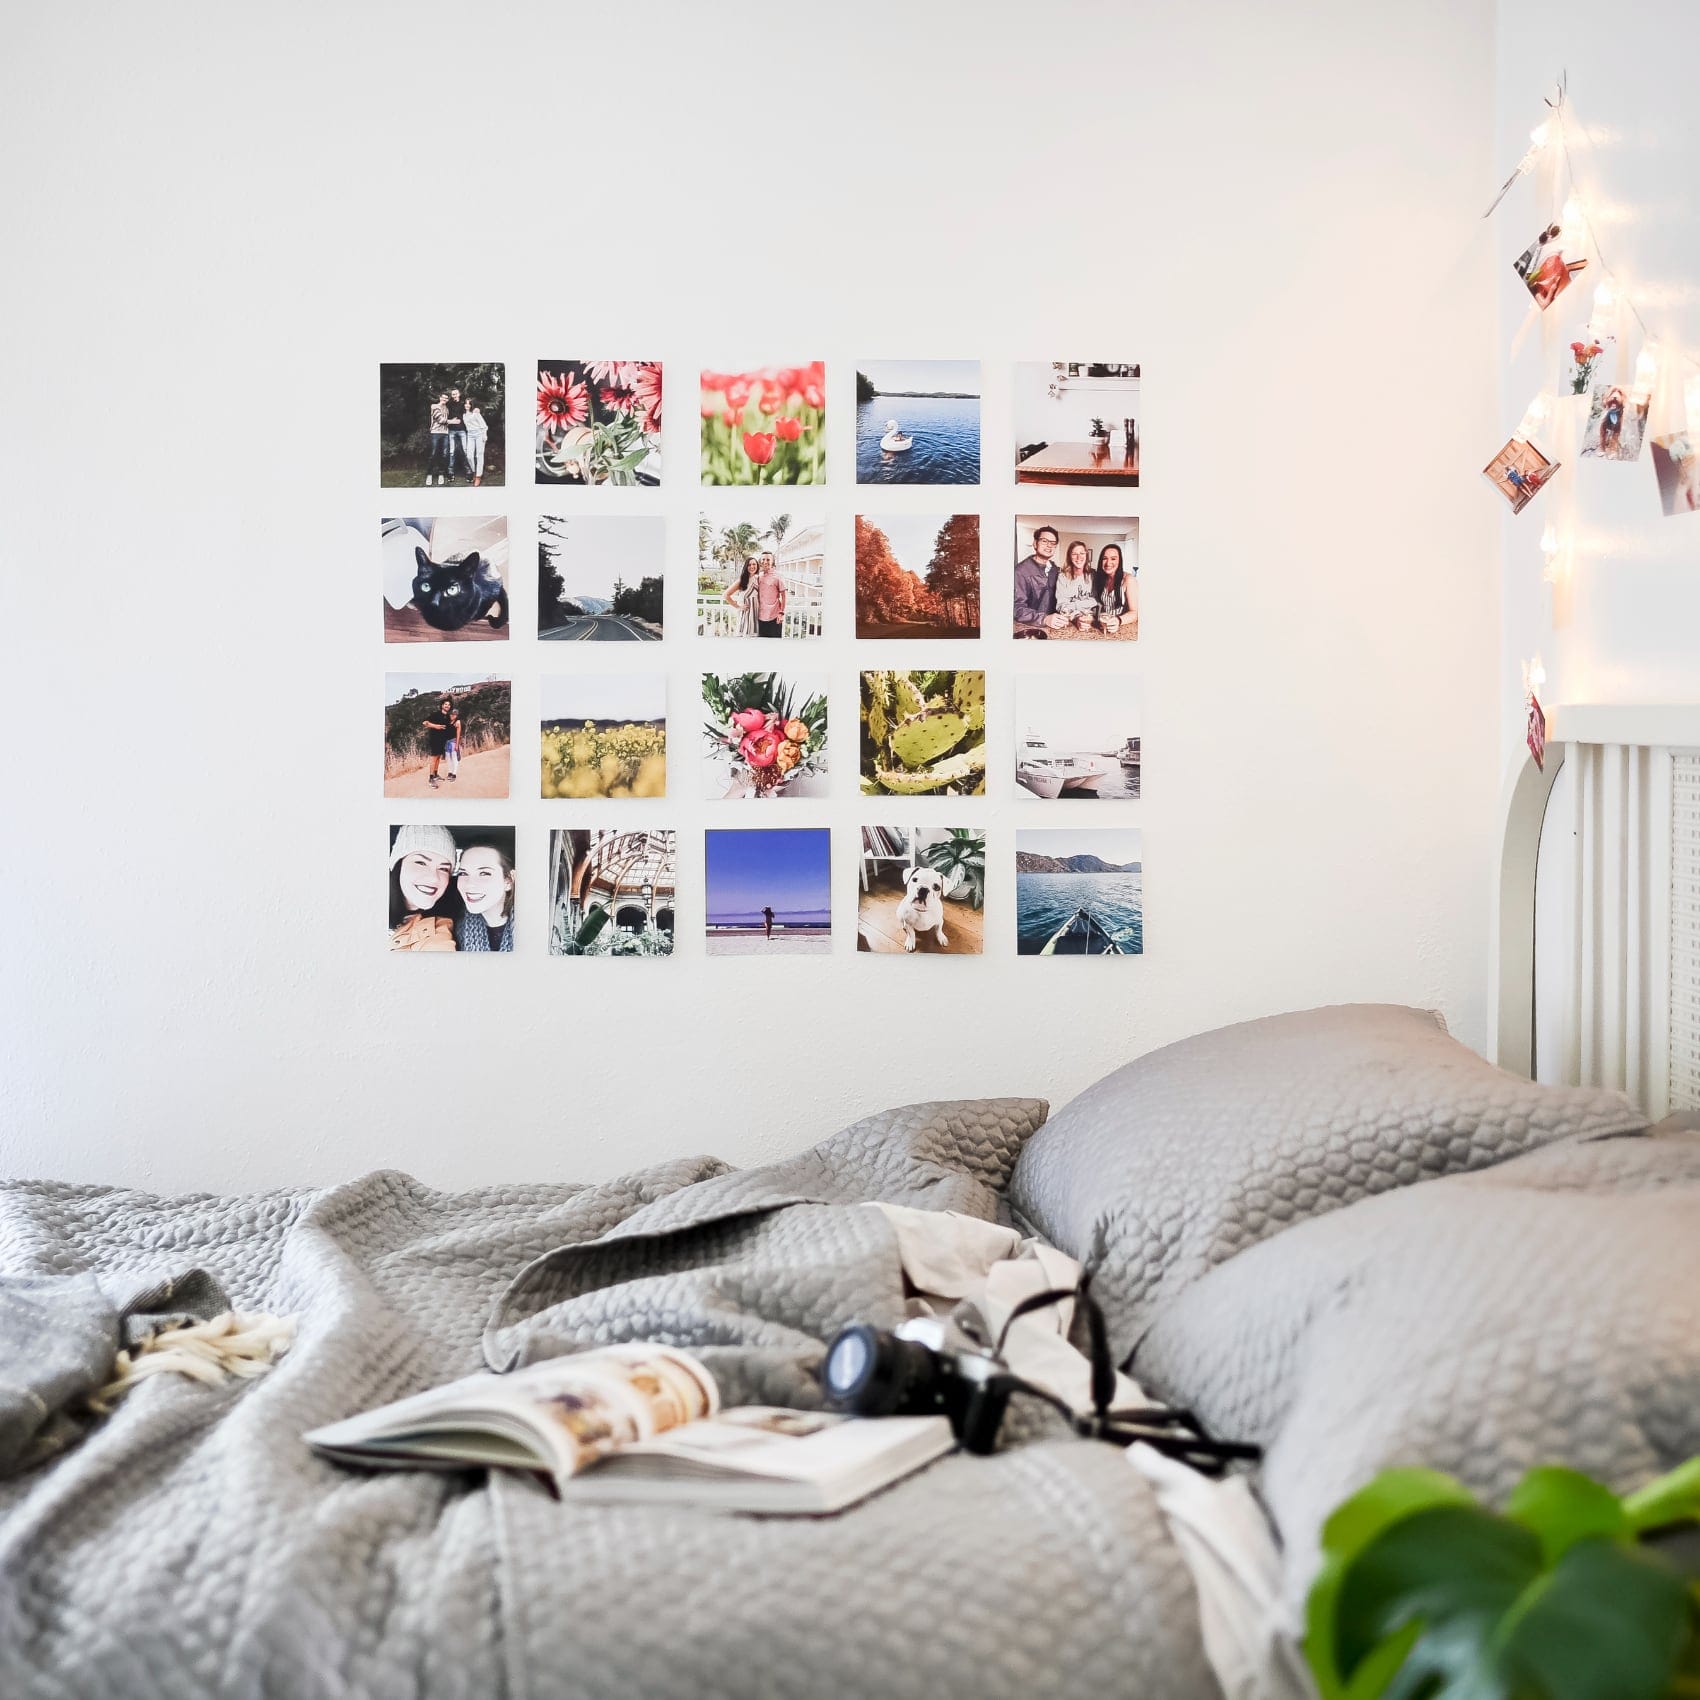
Keep the spacing between your frames at 2 to 3 inches, and keep those gaps even. As interior designer Jennifer Davis puts it, "We try to keep the spacing between the frames at 2 to 3 inches." Uneven gaps are the quiet thing that makes a wall feel off, even when every photo is lovely.
Matching sizes make this so much easier. A set of Square Prints lines up cleanly because the dimensions already agree, so your spacing falls into place.
4. You reached for the hammer before the plan
Before any nail goes in, lay your frames on the floor or tape paper templates to the wall to test arrangements. Jennifer Davis recommends exactly this: "lay out your frames on the floor or use paper templates on the wall to experiment with different arrangements." Shuffling a layout on the carpet is free. Patching a wall full of guesses means a lot of spackle and a wasted afternoon.
Move the pieces around. Let the best version surprise you before you commit.
5. There is no common thread
Pick at least one cohesive element to tie the wall together. Interior designer Victoria Holly advises sticking "to at least one common ground to keep the look cohesive." That common ground can be a shared frame finish, a single color family, or one art style across the wall. Jerad Gardemal, founder of JF Gardemal Designs, points to a related slip, which is forgetting the rest of the room. Your wall lives among a rug, a lamp, a window, so let those moments talk to each other.
If your camera roll is overflowing, a Photo Book is a gentle home for the shots that did not make the wall. For the keepers you want hung, browse the Wall Art collection and start choosing.
Feeling inspired? Gather a few favorite moments, line them up on the floor, and build the wall you have been meaning to make. 🙂


