
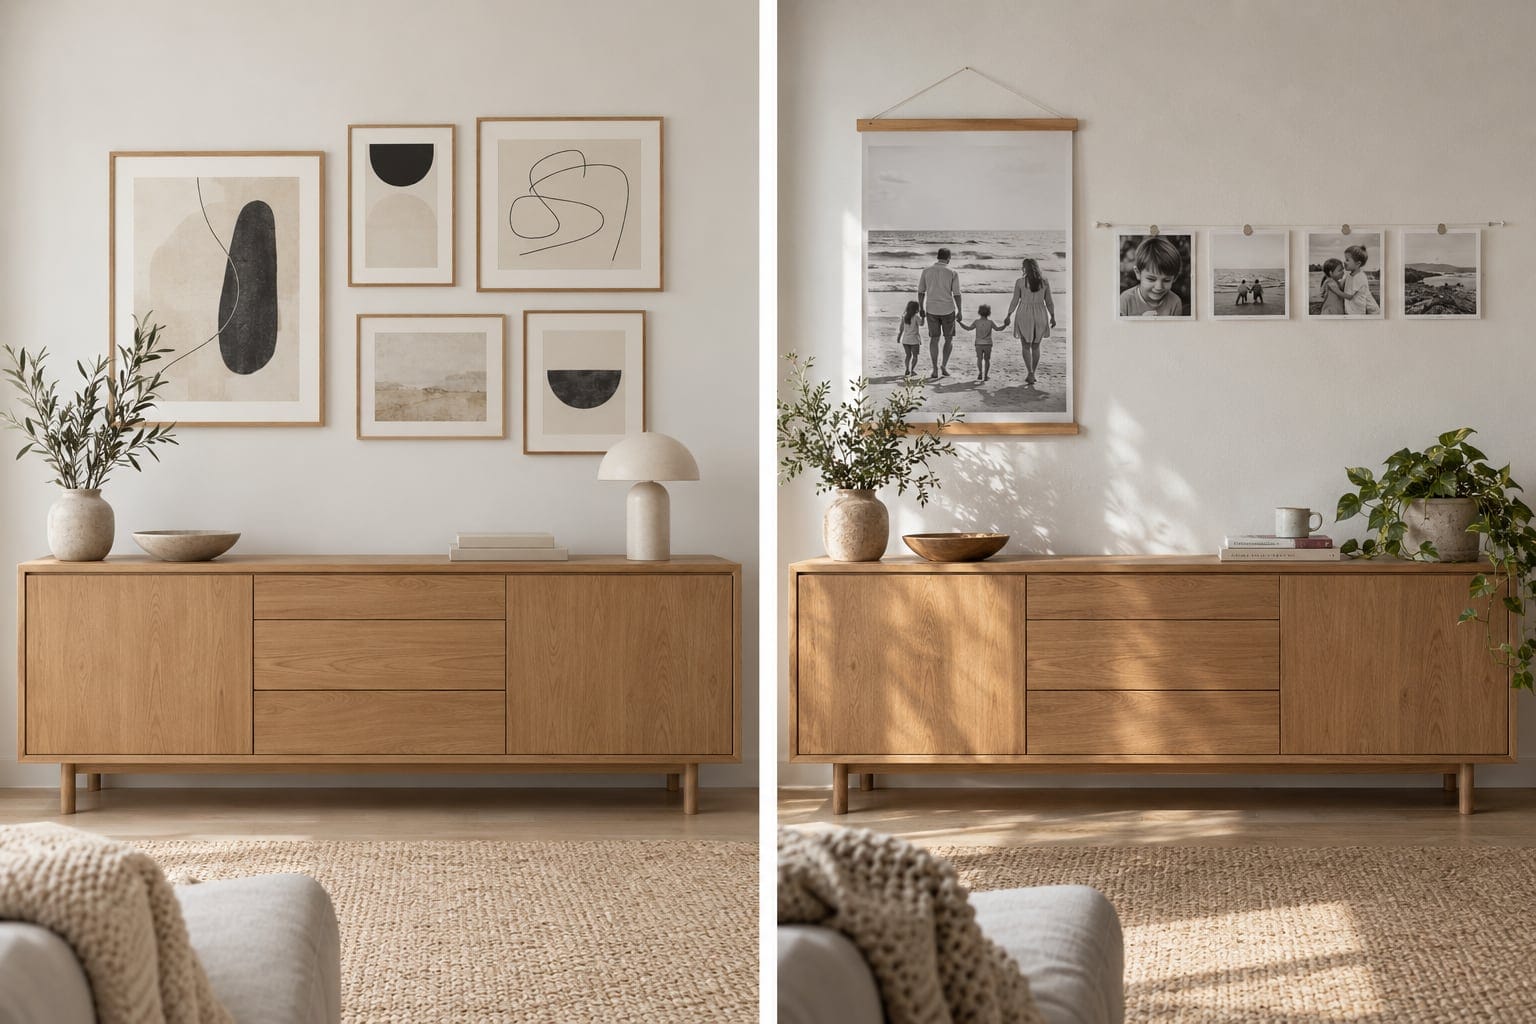

An AI room mockup gives you a plan (layout, palette, and mood in seconds), and your own photos give it a life.
Use the render to decide where prints go and which colors sing, then fill those exact spots with pictures you actually took. That two-step move turns a pretty screenshot into personal wall art that feels like yours.
We love a good AI room. So let's use one the smart way, and then bring your camera roll in to finish the job!
Why AI room visualizations are great for dreaming
They're genuinely beautiful, and they're wonderful for planning. Type in "warm and rustic hallway" or "airy coastal nook," and you get an instant sense of proportion, color, and spacing. That's a real gift when you're staring at a blank wall and feeling stuck.
These renders help you picture the feeling before you commit to a single nail. Use that. Let the render answer the fiddly questions. How many frames? Big anchor or a scattered trio? Cool wall, warm prints?
What your own photos bring to the wall
An AI room is a rendering, a visual plan with no memory attached.
Your photos are where the real material lives. Your daughter squinting into the sun. The light through your kitchen window. The messy, real texture of your own life.
So keep the AI layout you fell for. Then swap its invented art for your own photos.
Swap the render for your real pictures
Here's the whole move in three steps, and you can start it this afternoon. For more layout inspiration, our photo wall ideas guide is a lovely next stop.
1. Let AI suggest the layout and palette.
Pick one wall, name its mood in a single word, and let a room tool draft the arrangement. Note the spacing, the print sizes, and the colors it leans on. That render is now your blueprint.
2. Match your own photos to the same feeling.
Look at the render's light, color, and texture, then hunt your camera roll for photos that carry that same energy. Ask yourself four questions: Would you frame it? Would you miss it if it were gone? Is a favorite person in it? Does it tell a story? Two yeses and it earns a spot. Keep your first pass to three.
3. Print them and put them up.
Match the print to the space and build your wall decor with personal photos. For a scattered, playful cluster, small square photo prints work beautifully. For a bold anchor, size way up to an Engineer Print or a Fine Art Print.
How to match your prints to the right display hardware
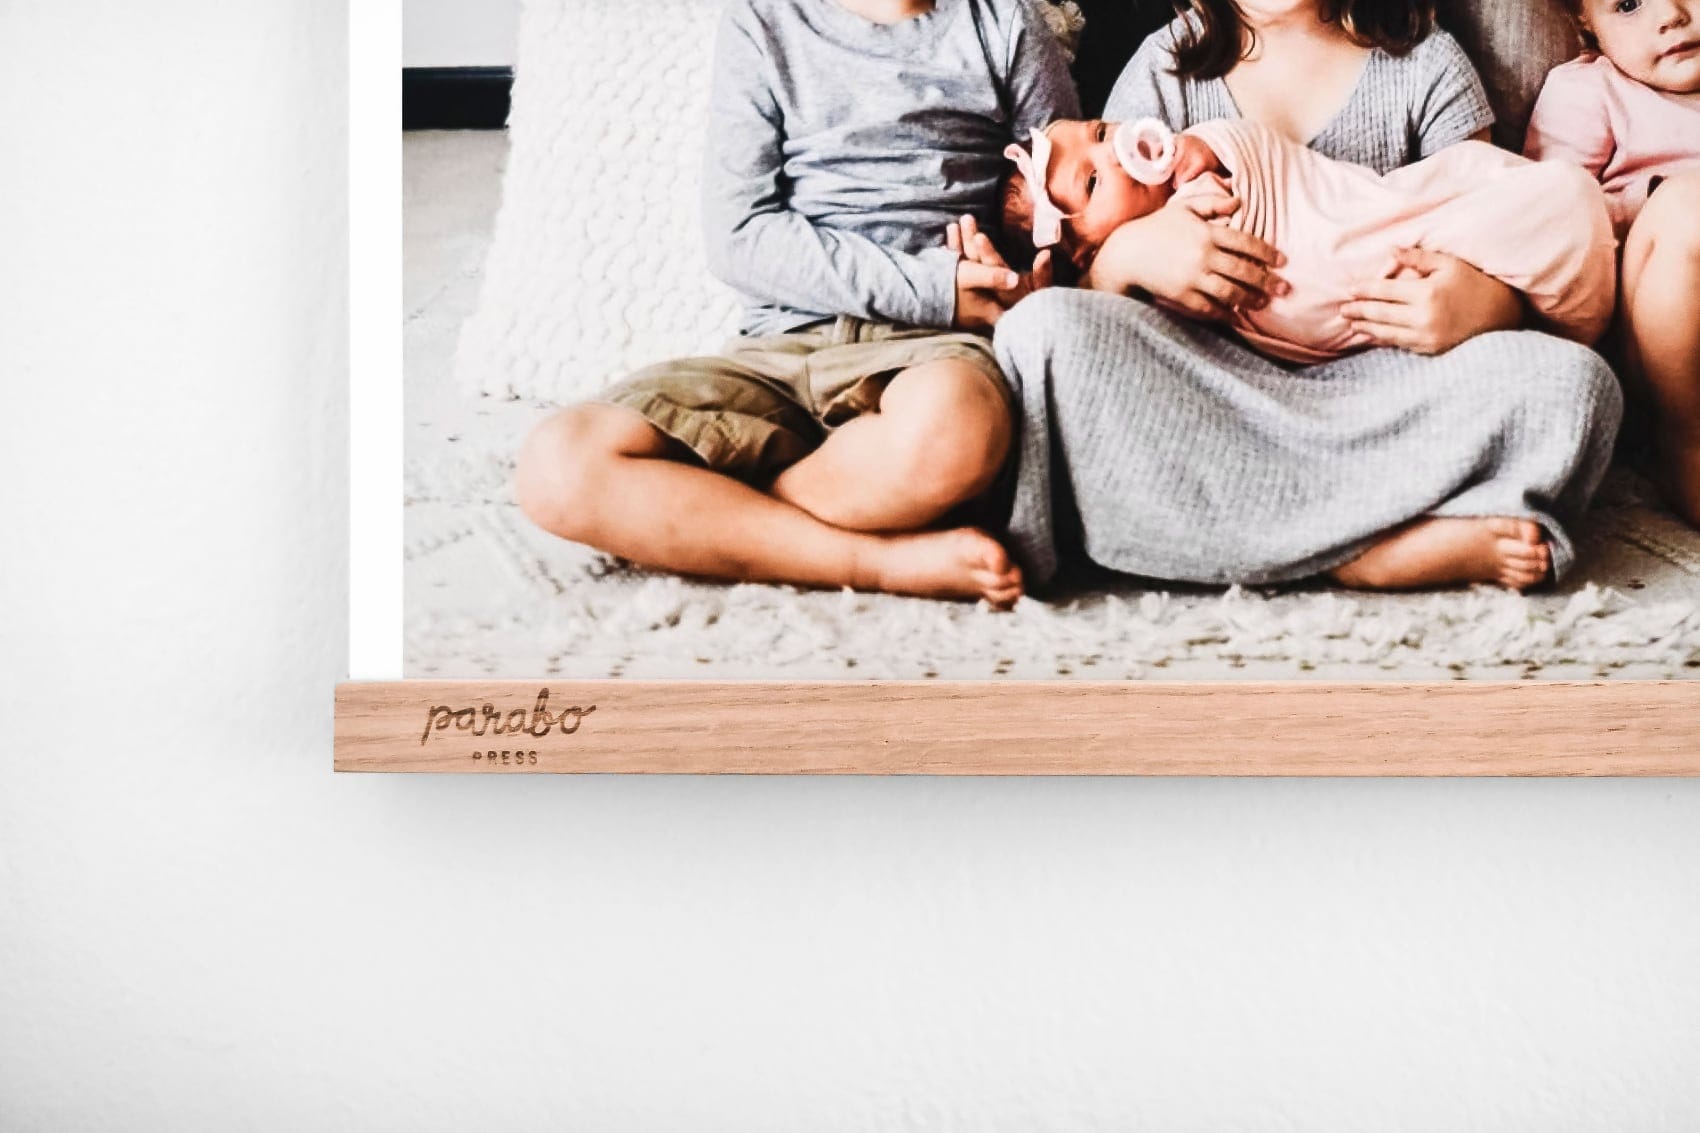
Large Engineer or Fine Art Prints hang on oak, maple or black Wood Poster Rails. Small Square Prints go on a Photo Rope or a Wood Photo Block, which holds up to five.
Keep it easy to change
Lean prints instead of hammering them, and rotate a couple each season. Warm ambers and golds are suitable for fall; cool blues and whites for winter, letting the wall read as current without a rehang.
As suggested for a memory wall that grows with your family, leave space for new favorites, the road trip photos and first-day-of-school grins still to come.
Your one small step
Open your camera roll tonight and find a photo of a place or a feeling you'd love to see on your wall every day.
That's your anchor. A room tool can sketch the layout, and your picture makes it yours.


