This simple DIY just takes three steps.
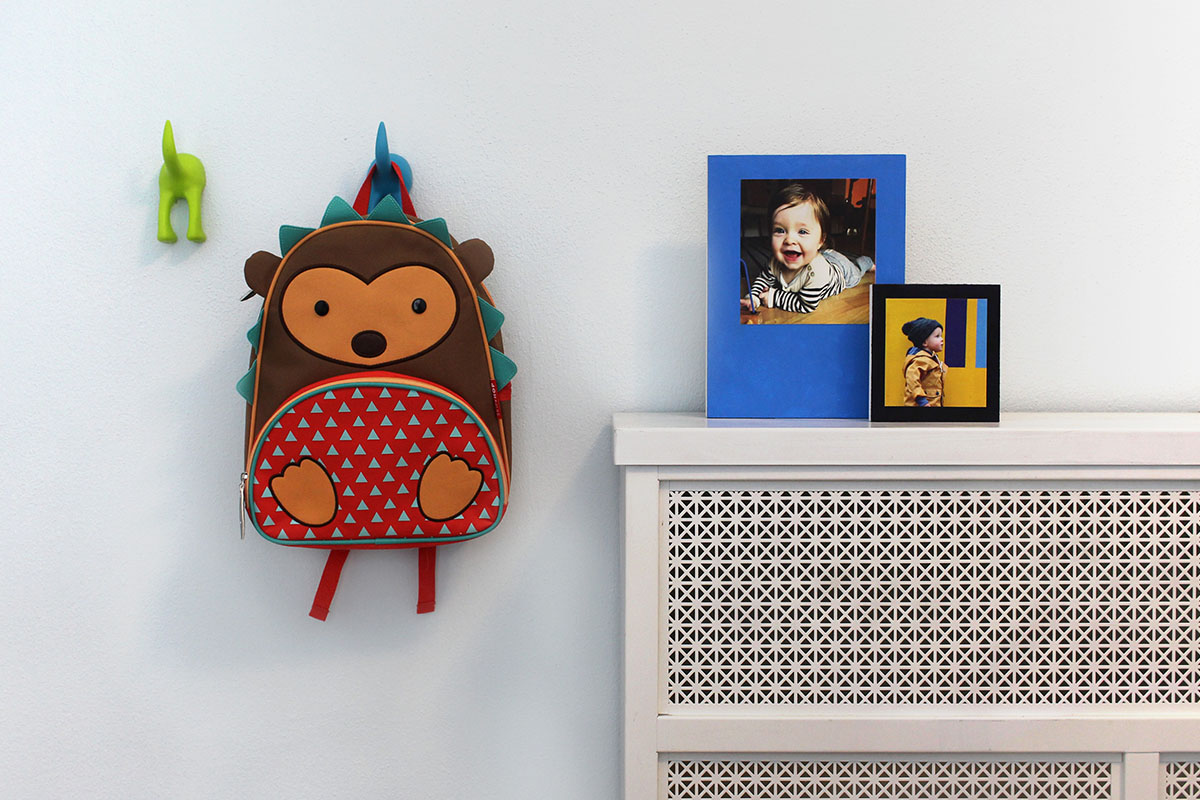
Mount our free Square Prints to a wood panel for a high-impact pop of joy wherever you need it most.
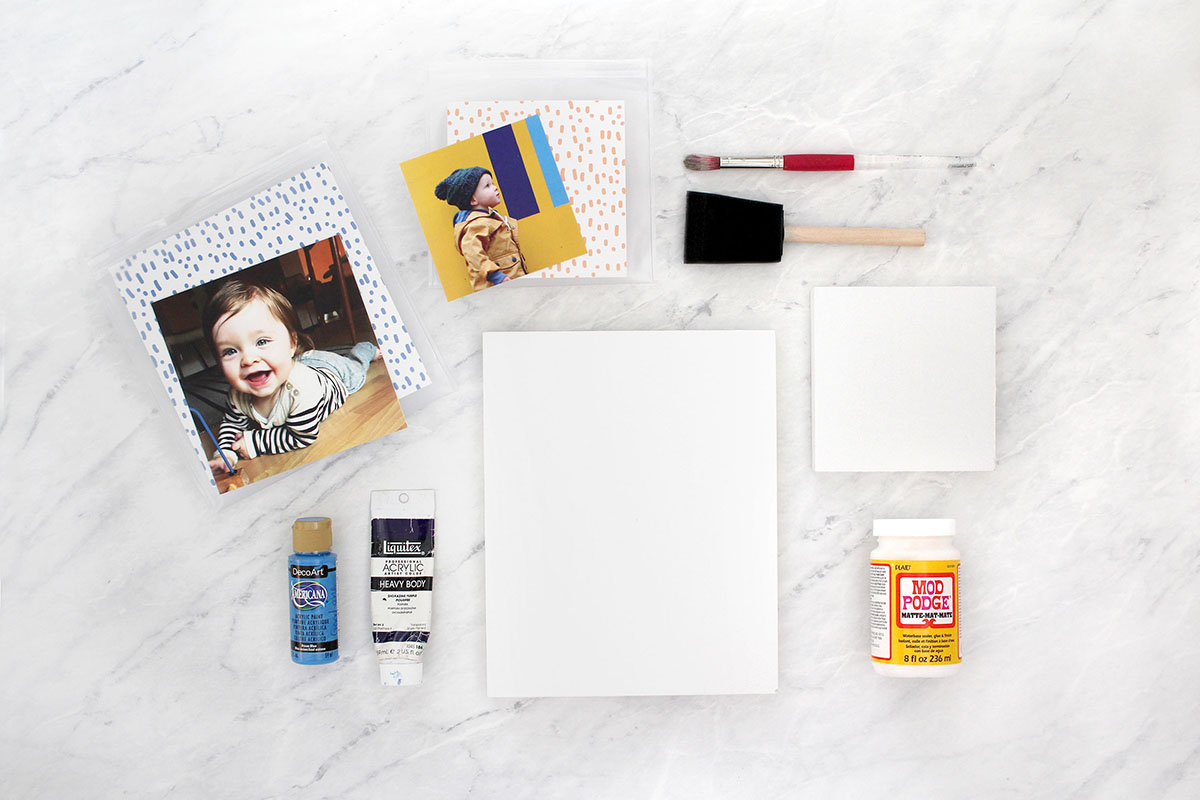
What You Need:
- Photo Prints – Grab a free set of Square Prints from Parabo
- Wood Panels (sometimes called Wood Canvas) or a Board
- Mod Podge – We used the Matte Finish
- Paint
- Paint Brushes
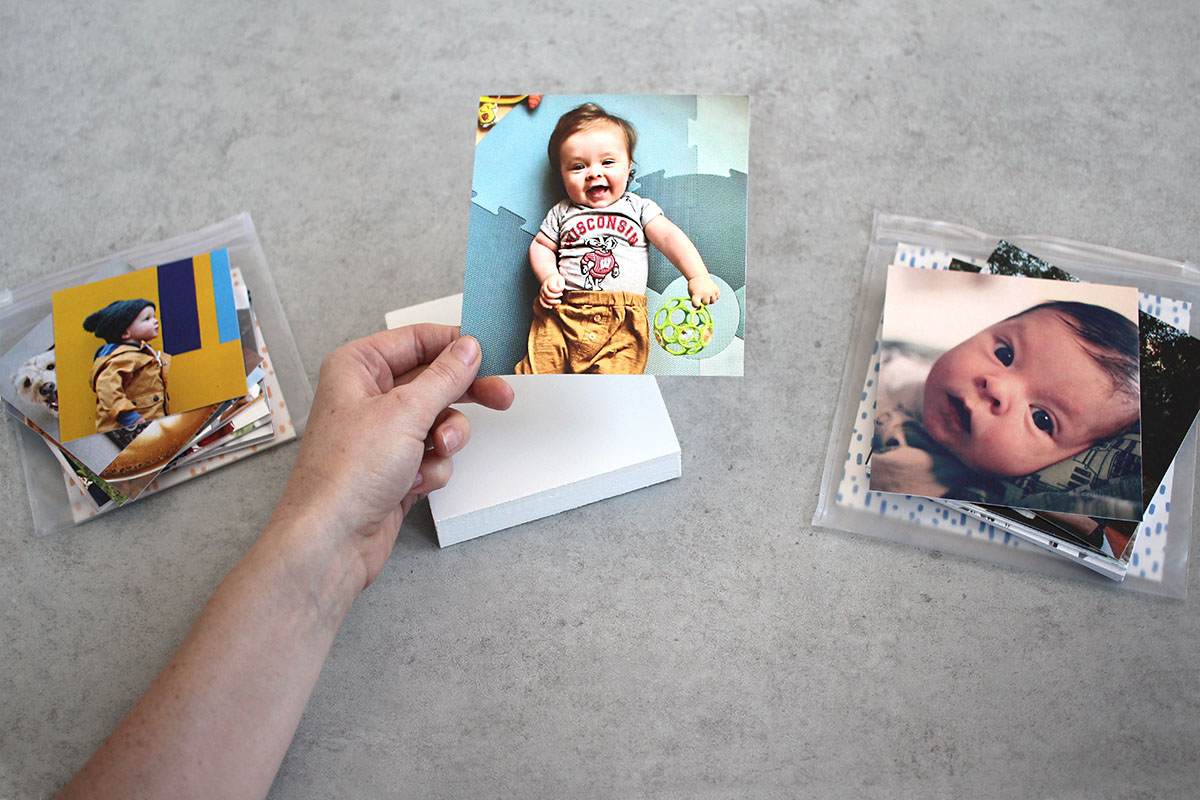
Step One: Choose Your Layout
Pick the prints you want to display together, and how you’d like to arrange them on your wood panels.
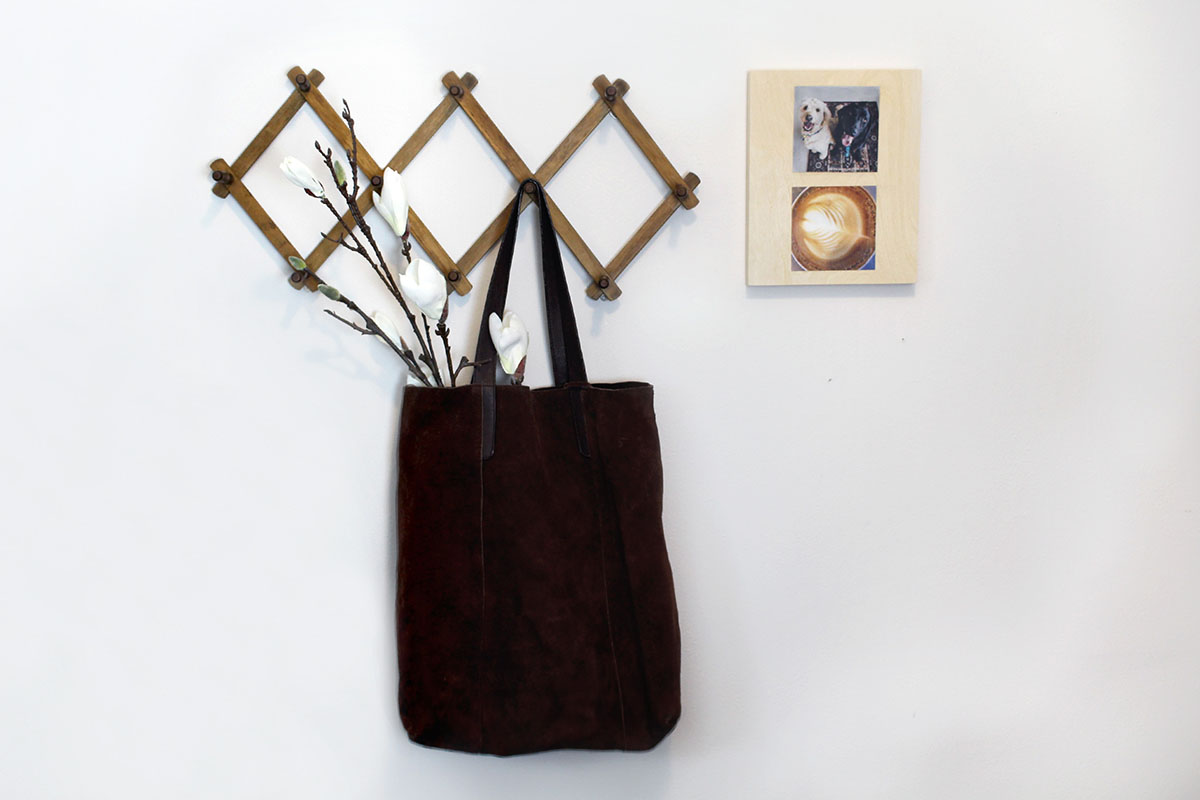
We used Borderless Square Prints in both 4” and 5.5” sized. Rectangular Classic Prints would work for this project too.
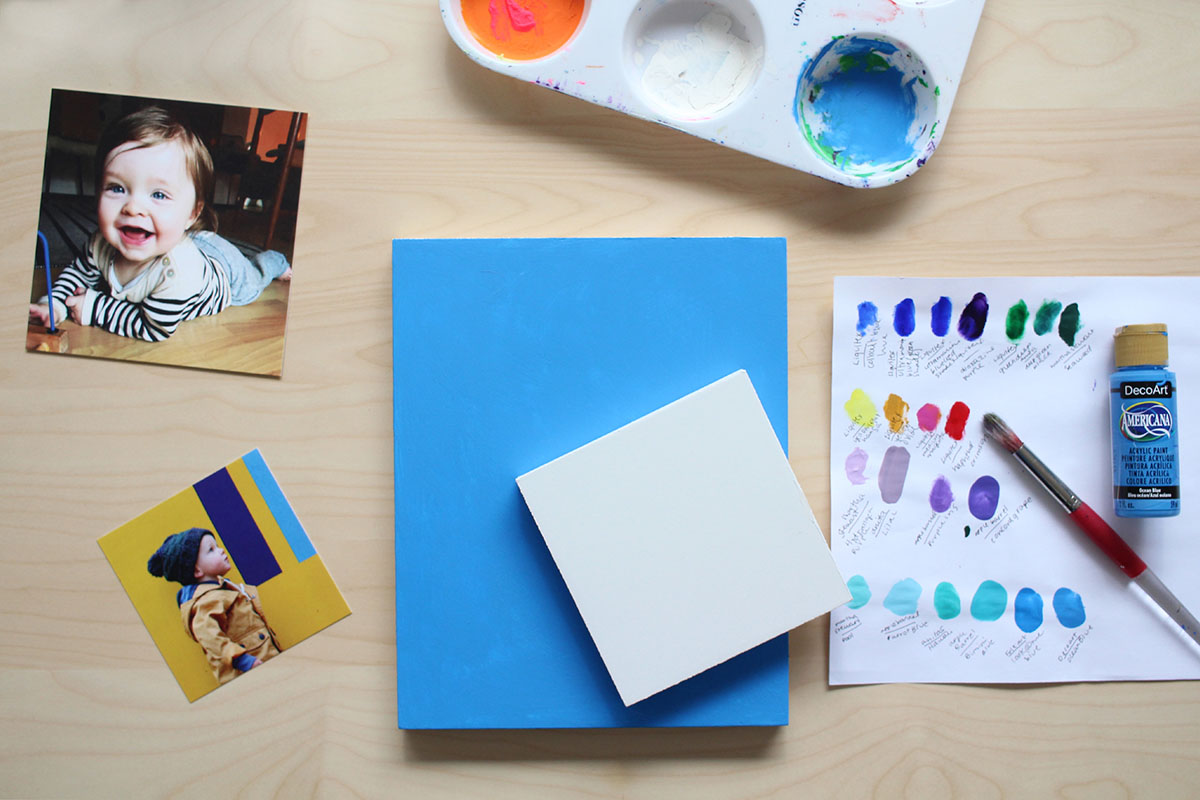
Step Two: Prep Your Boards
Choose a couple of colors that look good together, with your photos and in your space. Then, paint the front of your wood canvas.
The boards we bought were pre-primed, but if yours are just raw wood, you may want to add a second coat of paint.
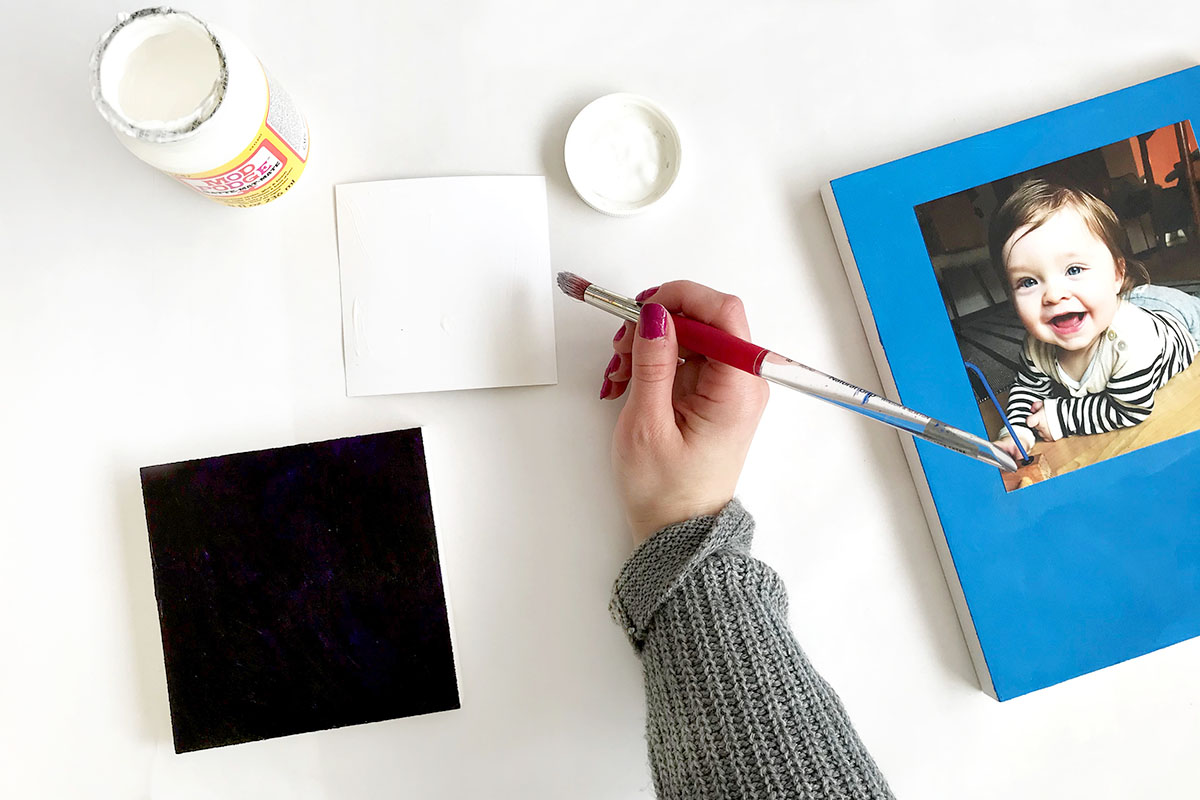
Step Three: Seal the Deal
Once your boards have dried put a thin layer of Mod Podge on the back of your print and smooth it into place on your board.
Gently brush another layer over the front of your print, and over the entire front of the board to seal your photo into place.
Hang your new creation, or let your boards stand on their own.
Taking it Further
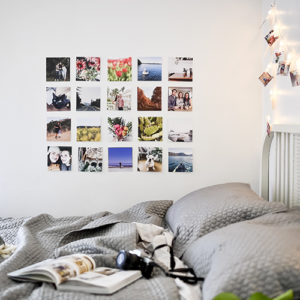
Arrange your photos any way you like. Add more than one per board. Overlap them if you prefer that look.
You can also leave your wood panel unpainted, for a more natural look. Just be sure to cover the entire front with Mod Podge for an even look.
What are you waiting for? Order Square Prints – grab a set of 25 for $0.00; additional sets are just $5.