Wanna learn alchemy? Wanna know how to photograph a rainbow?
Then listen up, because there’s photography gold at the end of this rainbow.
More specifically, we’re gonna show you three ways to create a rainbow and then photograph it.
Pick up a tip or two on how to photograph a rainbow and you’ll be gold, baby, solid gold.
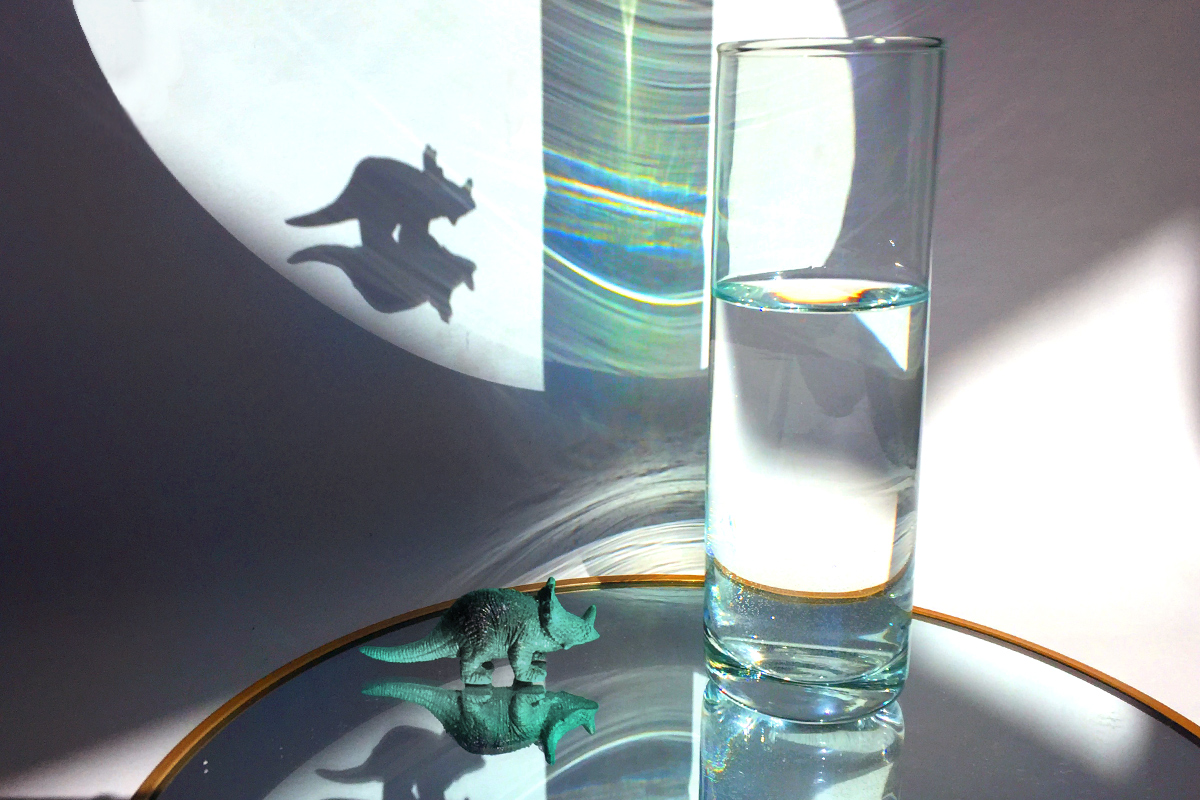
Method 1: Water + Mirror
You probably have these in your house right now!
Fill a glass with water, set it on a mirror in the sun and look around for that rainbow. Chances are it’s there somewhere.
Top tip: Move things around! Move the water glass, tilt the mirror. Move things closer/farther from the window. Experimentation is key to optimal rainbowiness.

Method 2: Compact Disc
CDs make amazing rainbows! Move it around in the sun till you find your rainbow.
Reflect one onto a wall, or take a close-up shot of the CD itself.
Top tip: Bright sun can make your rainbow harder to see and photograph, so if you’re reflecting your rainbow onto the table or a wall, try to make just the reflection area shady to see a deeper rainbow.
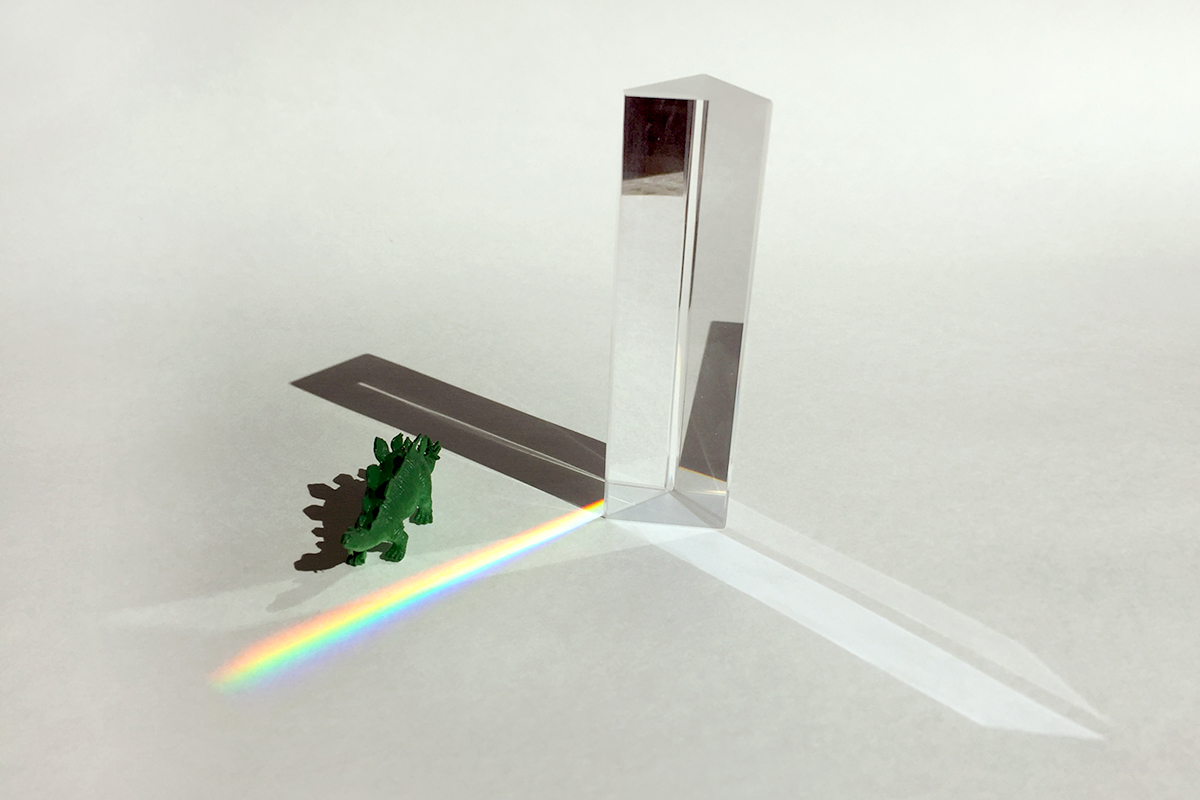
Method 3: Prisms
Take a crystal down from your chandelier, or pick up a prism on Amazon.
The key here is twisting your prism ever so slowly to find the perfect rainbow.
Top tip: Try shining all kinds of lights through your prism — flashlights, lamps, lasers, the rainbow from a different prism!
Editing Tip
If your rainbow is a little faint, the Saturation setting is going to be your ticket to bolder colors. Now have fun!