We know this task can feel overwhelming, but don’t fret! Spring is one of the best times to organize and print your camera roll. We’ve come up with a simple yet effective routine to press the reset on your camera roll, surface the best photos worth printing, and seal the deal with a home full of cute prints. Let’s get into it!
Step 1: Choose a clear date range
It could be a date range (January–March is a good option right now), a recent vacation (yes, last year’s trip counts!), or even a special weekend. This helps the task feel a bit less daunting.
Remember: you’re not “organizing everything.” You’re prepping your next print order (and organizing in the process), which is much more fun. 🙂
Step 2: Delete only what’s truly unnecessary
We know, sometimes deleting is hard. To avoid that delete-guilt, start with the photos that are the easiest to scrap:
- Screenshots
- Duplicates
- Accidental photos
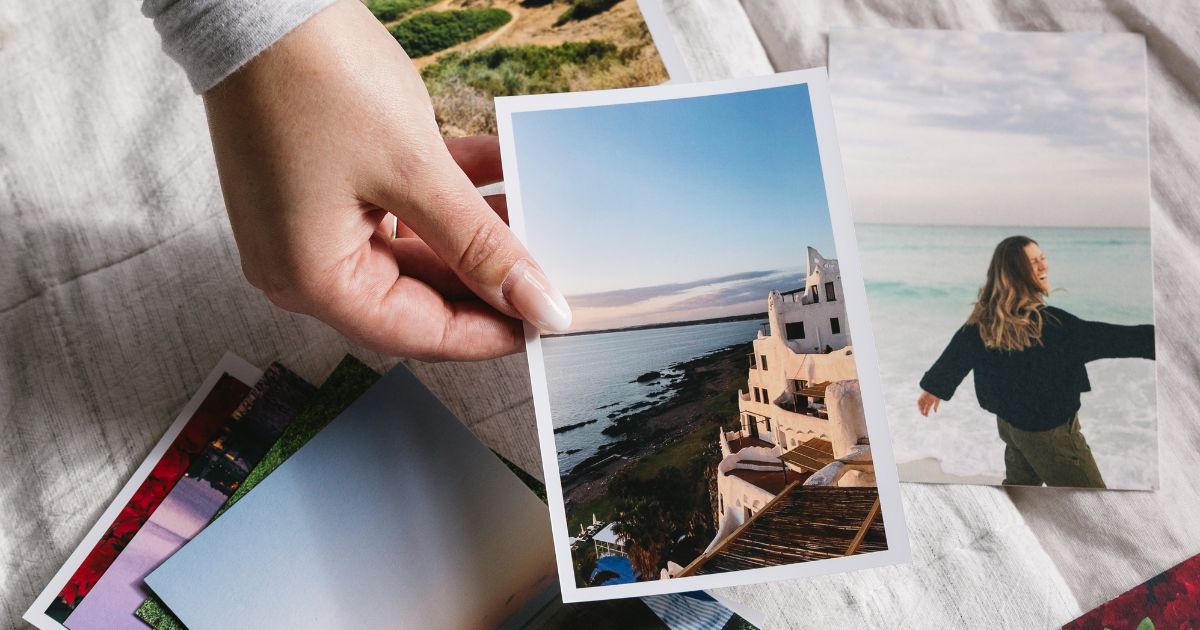
Step 3: Favorite generously
This is the fun part! Tap the heart on anything that:
- Feels familiar
- Shows real life
- Would feel good to see in your home
More favorites = more printing options, not more pressure.
Step 4: Create a “Spring Prints” album
Add your favorites to an album. This bunch will become your short list for:
Plus, having a dedicated album makes printing feel like a breeze.
Step 5: Match photos to formats
Before ordering, do a quick mental sort:
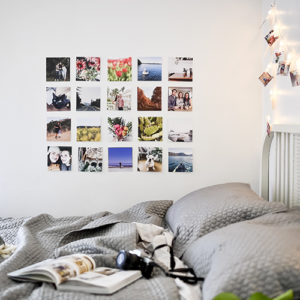
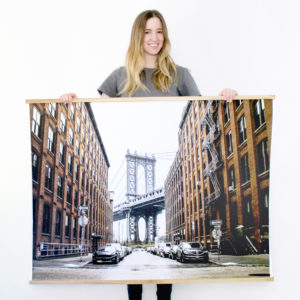
- Wide, environmental shots → larger prints or framed prints
- Small, quiet moments → standard photo prints, like Squares, Classic, or Glossy
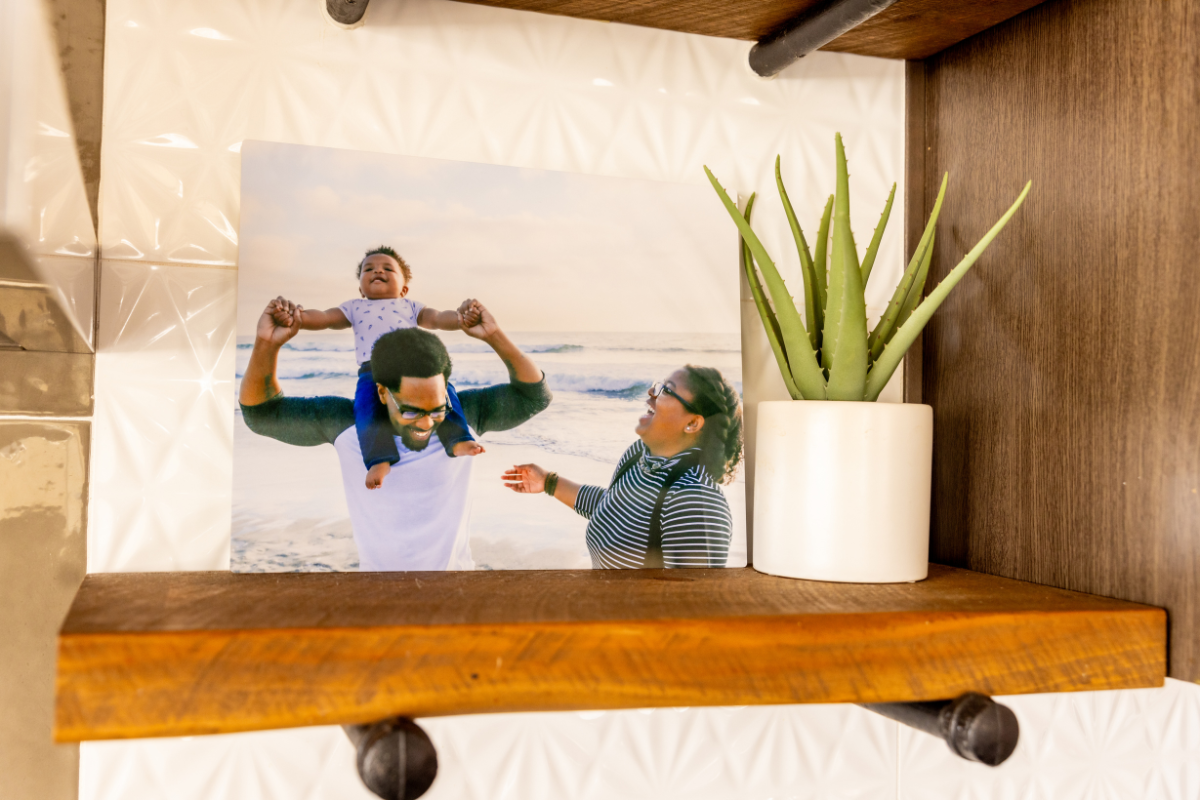
- Groups of related moments → a photo book
Our range of print sizes makes it easy to choose formats after you’ve chosen the photos.
Feeling inspired?! Shop photo prints.