


To scan old family photos well, scan at 300 dpi for a standard reprint and 600 dpi if you want to enlarge, then reprint the keepers so they leave the hard drive. That box of prints in the closet has been waiting long enough. One weekend is all it takes, and the payoff is real. Your grandmother's kitchen, a birthday you barely remember, the dog you loved at seven, all of it sitting in the dark. Forget building a perfect archive. The point is getting these photos back where you can actually see them. Here's the order of operations, from the first careful handling to the print on your wall. Let's get into it.
Handle the prints like they still matter
Old photographs degrade from the oils on your skin, so wear clean nitrile or cotton gloves and hold each print by its edges. The National Archives notes that oils, salts, and other skin deposits can slowly degrade the image, so touching the picture surface is the one habit to break. Support each print with two hands, and never bend or roll it. For dust, the Archives suggests a soft brush or a hand blower held at an angle from the edges, and warns against canned air because it's too forceful. A faded photo of a flour-dusted baking day deserves that much care.
Scan at the resolution that matches your plan
Scan at a minimum of 300 dpi for a photo you'll reprint at its original size, according to Family Tree Magazine. If you want to enlarge a picture up to double its size, bump it to 600 dpi. Tiny originals, like a 2×3-inch school portrait, want 600 dpi or higher, and fragile antiques such as a tintype are worth 1200 dpi. Higher numbers capture more, but they can't invent detail that a soft old print never had. When you aren't sure, scan once at 600 dpi and you're covered for most reprints.
Name the files and back them up before you move on
A scanned photo is only saved once it lives in two places. The Library of Congress recommends making at least two copies on separate media and keeping them physically far apart, so one spilled coffee can't end the project. Give each file a descriptive name while the memory is fresh, something like 1974-nana-backyard rather than a blank IMG number. Check the files about once a year, and make fresh copies every five years so nothing quietly rots on an old drive. It's the least glamorous step, and it's the one that saves your whole afternoon.
Reprint the keepers so they leave the hard drive
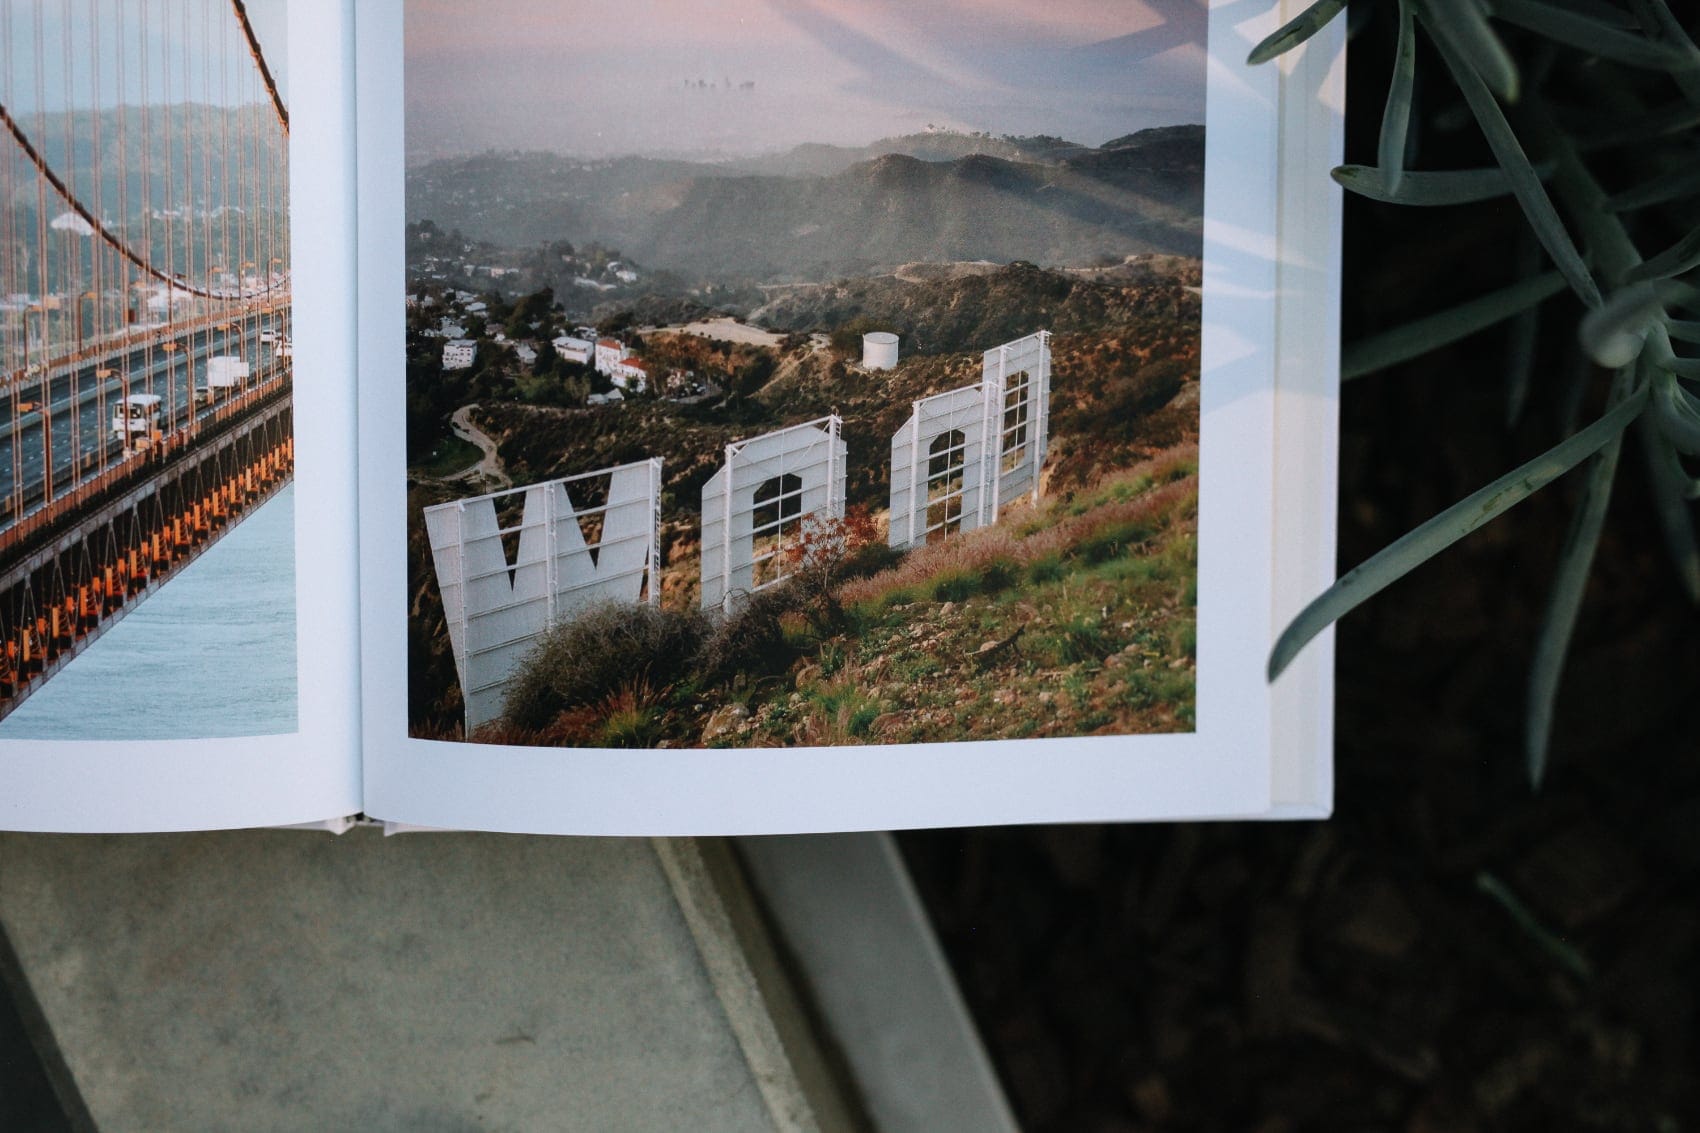
A photo you can hold will always beat a folder you never open. Once your favorites are scanned, order a set of Square Prints in the 4-inch size, twenty to a pack, and pass them around the next time everyone's at the table. Matte prints of old photos have a quiet, lived-in look that suits them. For a bigger undertaking, a Premium Hardcover Book turns a shoebox into one lay-flat volume that lands on the coffee table instead of a basement shelf. Group the pages by decade so the story reads in order, and let the blurry-but-perfect shots stay in. The scanning was the work. This is the fun part.
Enlarge one photo big enough for the wall
One old picture, printed large, can change a whole room. Choose the single frame that stops you every time, a porch full of the people who raised you, or a wedding you were far too young to attend. Turn it into wall art, where a Fine Art Print or Engineer Print gives a soft vintage image real presence without pretending it's sharper than it is. Hang it somewhere you'll walk past it daily, at the top of the stairs or beside the coffee maker. A little softness is fine. What matters is that the photo still feels seen.
Feeling inspired?! Pull the box out this weekend, scan the ones that matter, and give your old photos a second life. 🙂


